
Block Printing with Earth Pigments
Nā Jordan Davey-Emms, April 2022
I first came across this method online, when searching for a way to make prints for an exhibition of works from Sarah’s book Mana Whenua (2020) at Wormhole Gallery and Studio. It uses rice paste, gin, water, and pigment to make a squelchy, smooth, water soluble ink suitable for block printing..

First, make the rice paste.
You will need:
Small cup or bowl
Small pot
Measuring utensils
Spoon or spatula
250ml water total
2 tbsp rice flour
-

Bring 150ml water to a boil in a small pot.
-

Mix the rice flour with 100ml cold water until there are no lumps.
-

Add this mixture to the boiling water.

Boil and stir continuously for 5 minutes, then take off the heat and allow to cool.
TIP: This makes enough paste for a few different batches of ink, with some left over for tweaking ratios. It can also be used as glue. Excess can be kept in a clean sealed container in the fridge for a few days max. - you’ll be able to smell when it’s too old to use!
Next, make the ink.

Tools you will need:
Small bowl
Measuring spoons
Spatula
Something to cover your bowl - a jar, lid, or wrap (optional)
Glass plate (op shop frames are great for this!)
Damp sponge
Brayer (printing roller)
Print block
Rolling pin (optional)
Paper to print on

Ingredients you will need:
1 tsp gin
1 tsp water
1 tbsp finely ground pigment
1 tsp rice paste
-

Mix gin and water in a small bowl.
-

Add pigment and mix with a spatula until smooth.
-

Add rice paste and mix again.
Now you’re ready to make a print.
-

Smear some ink (approx ½ tsp) on the glass plate. Cover the rest of the ink to keep it from drying out.
-

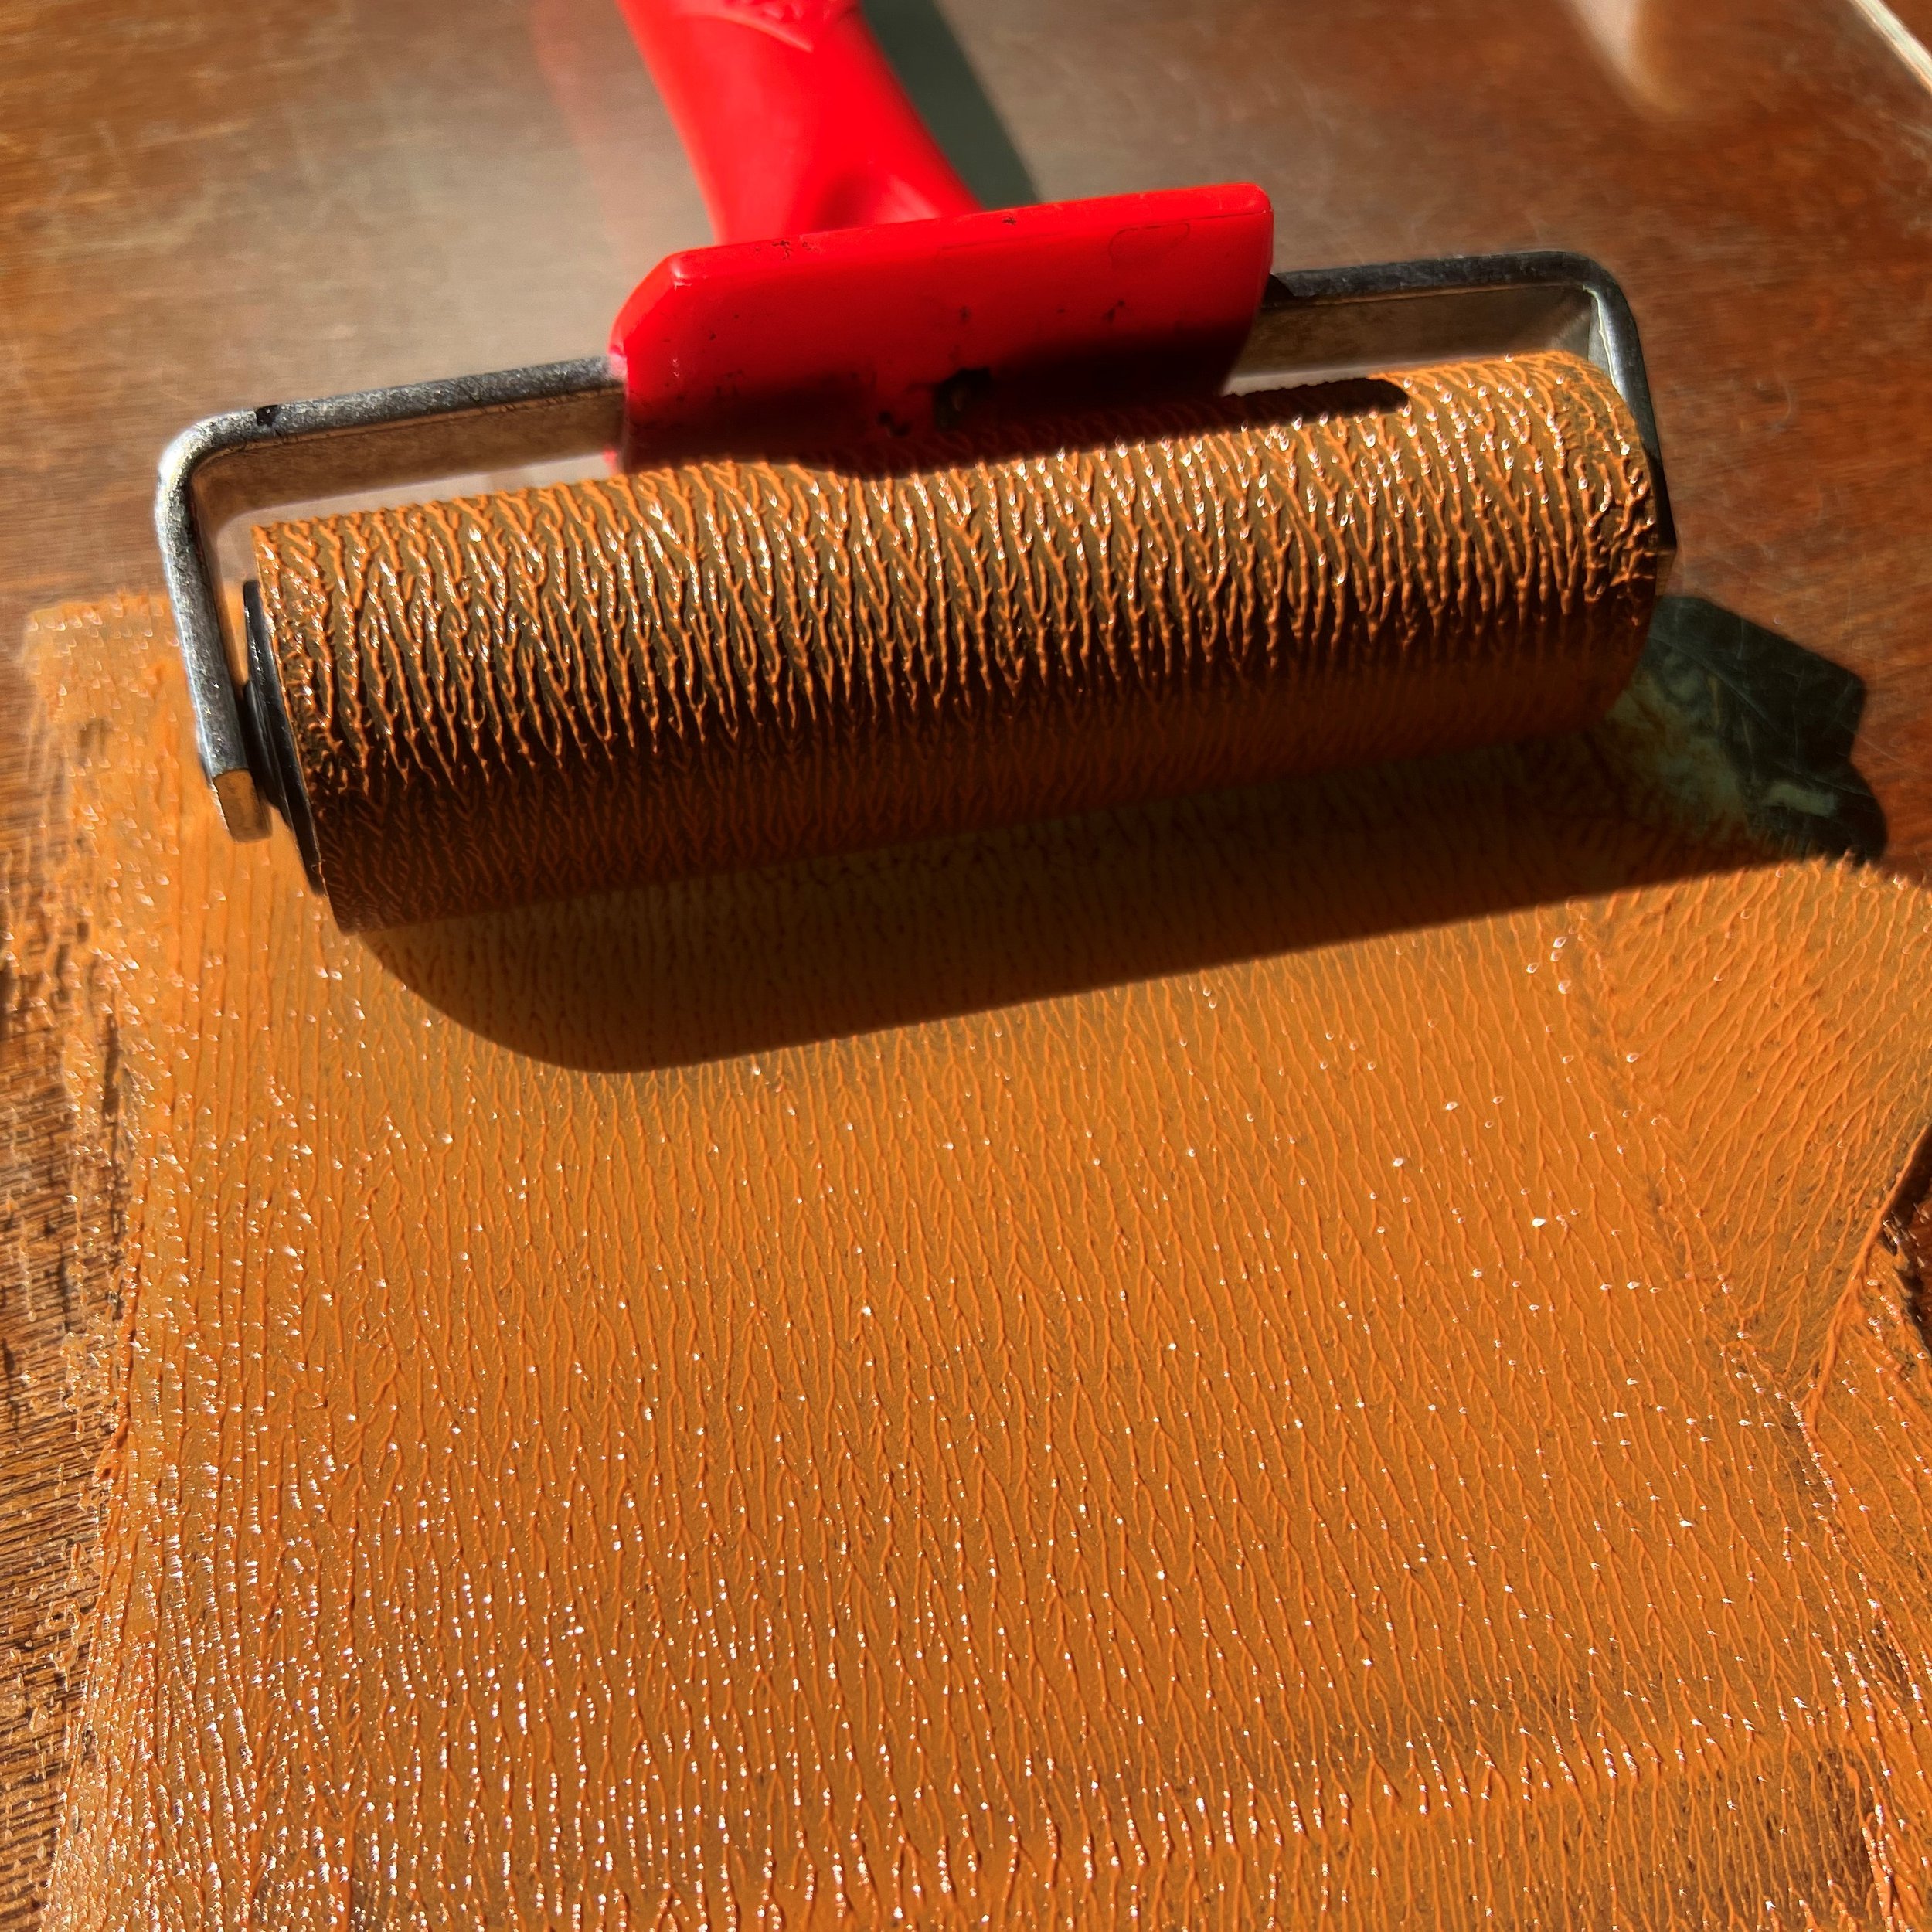
Firmly roll the brayer over the ink in all directions, so the roller and the glass plate are evenly covered with a thin layer of ink.
-

Roll the brayer over the surface of your print block. You may need to go over a few times for even coverage.
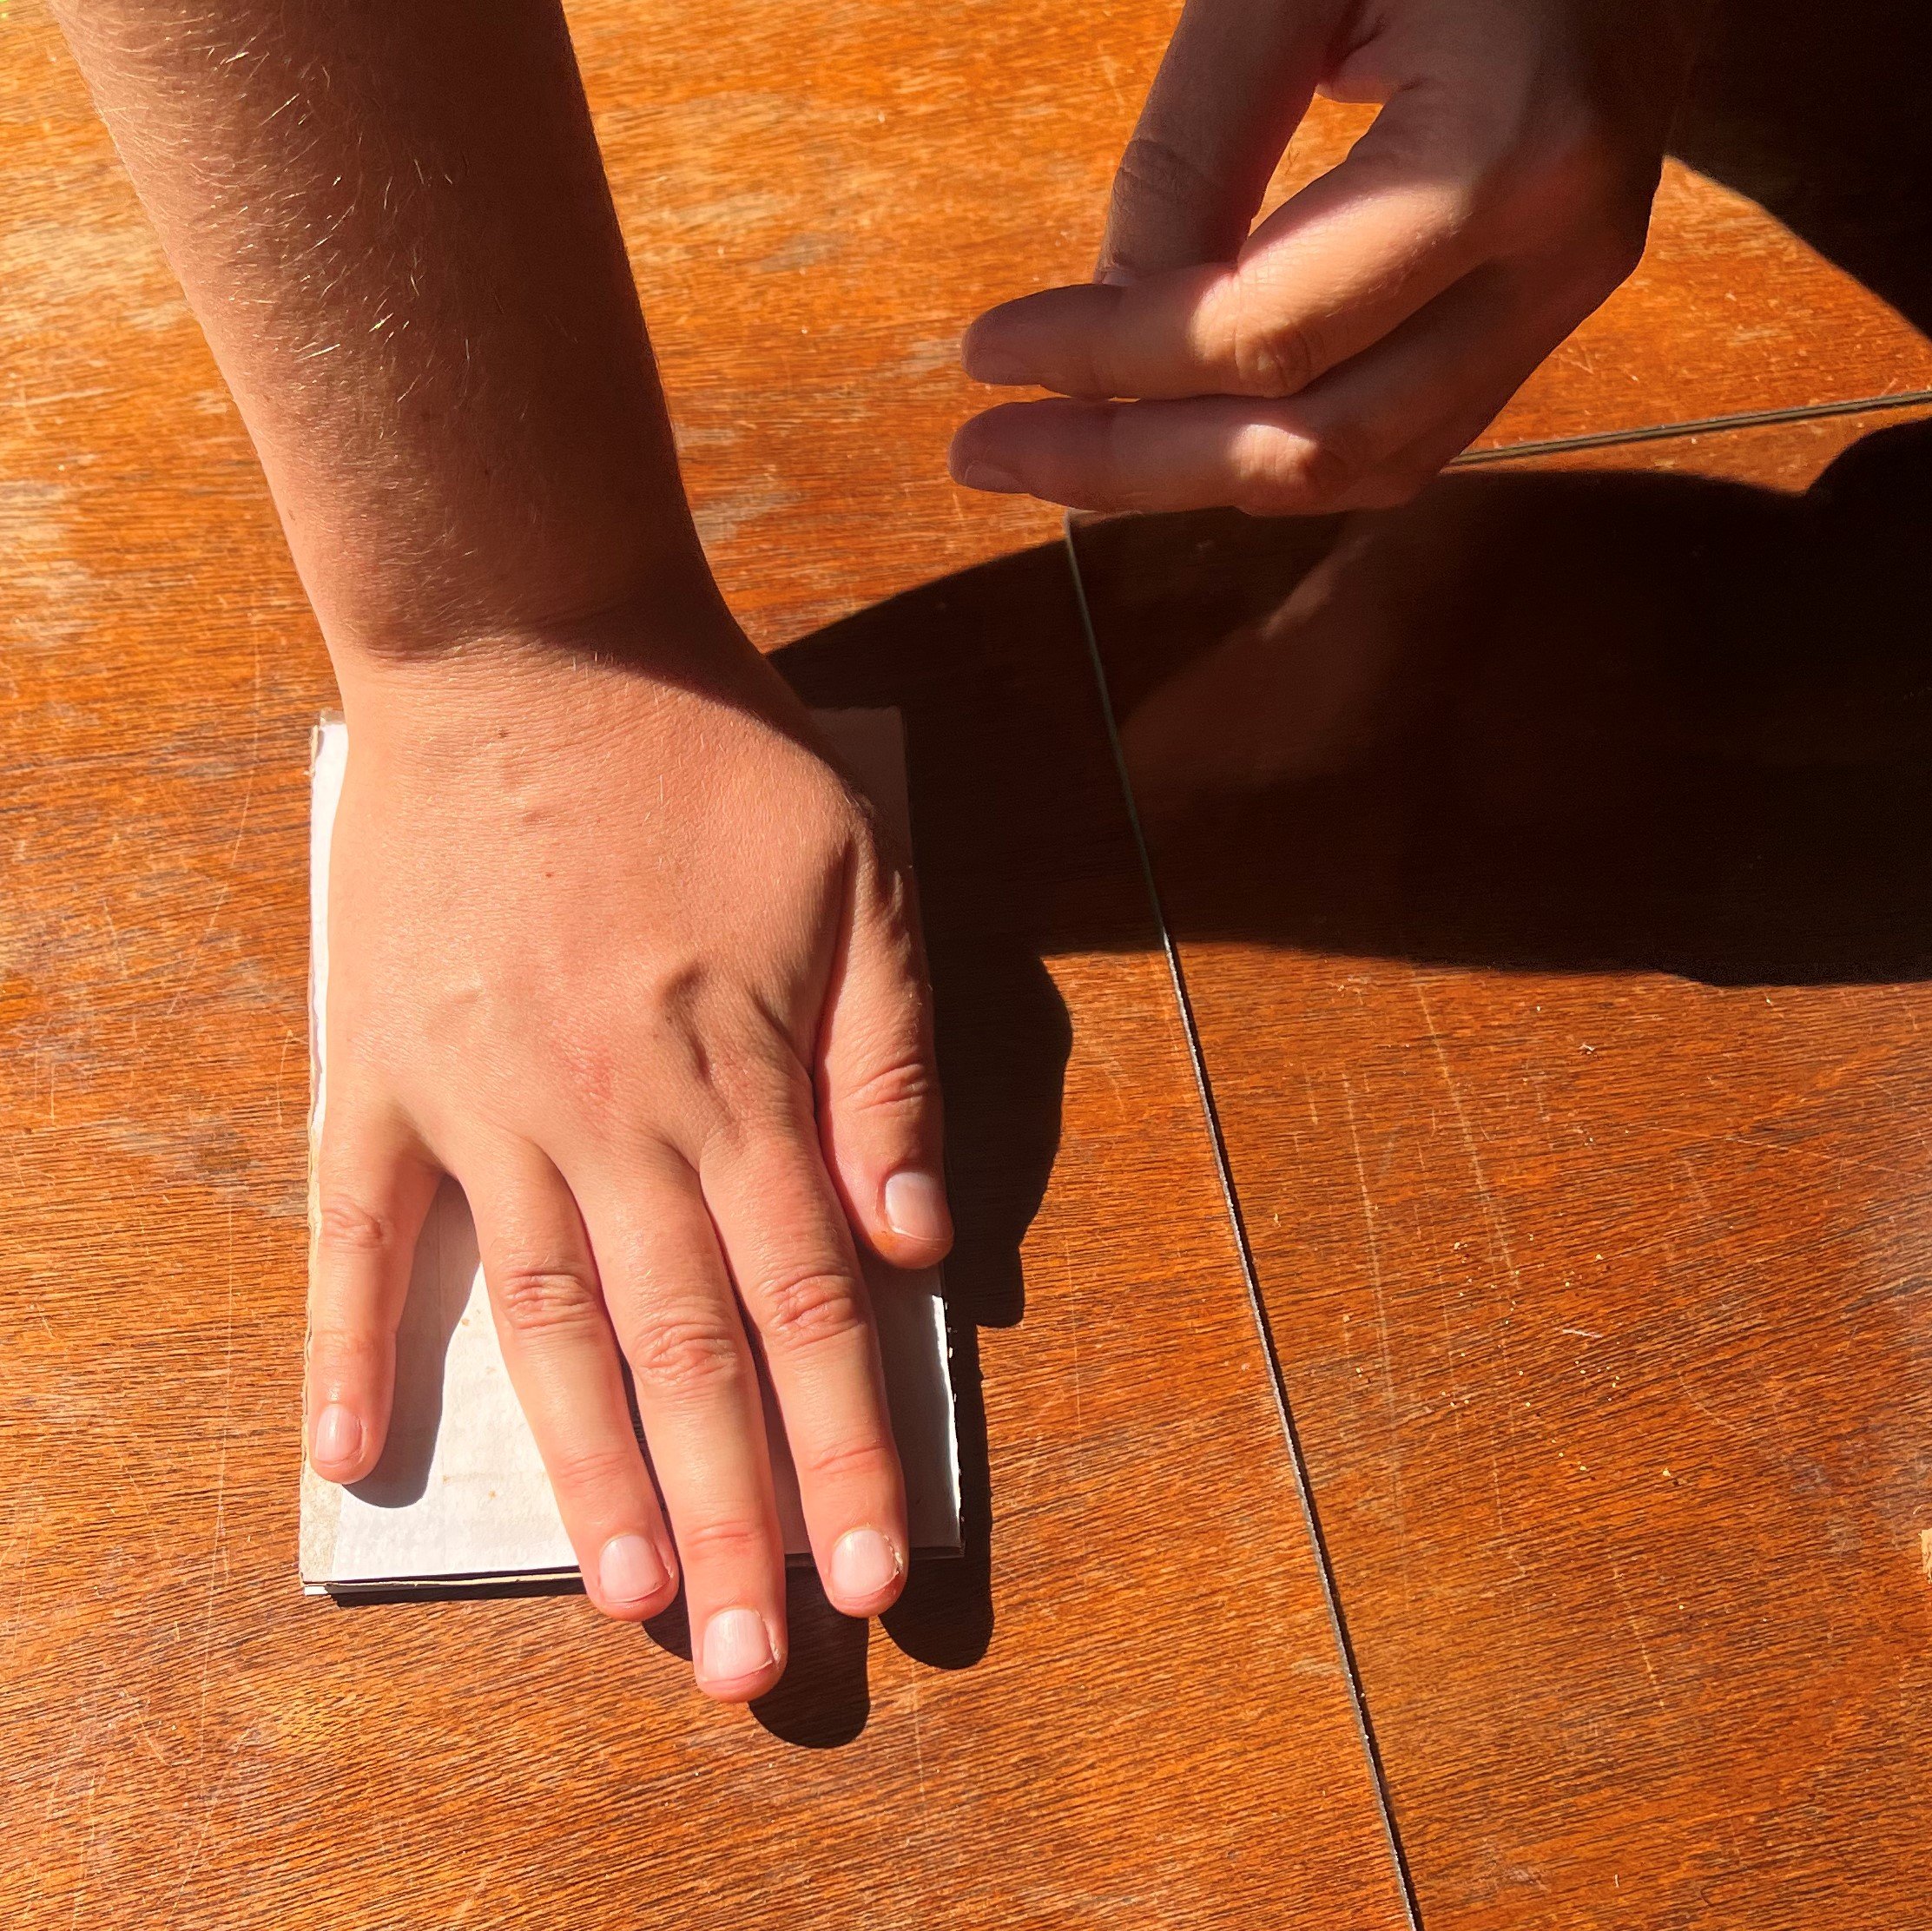
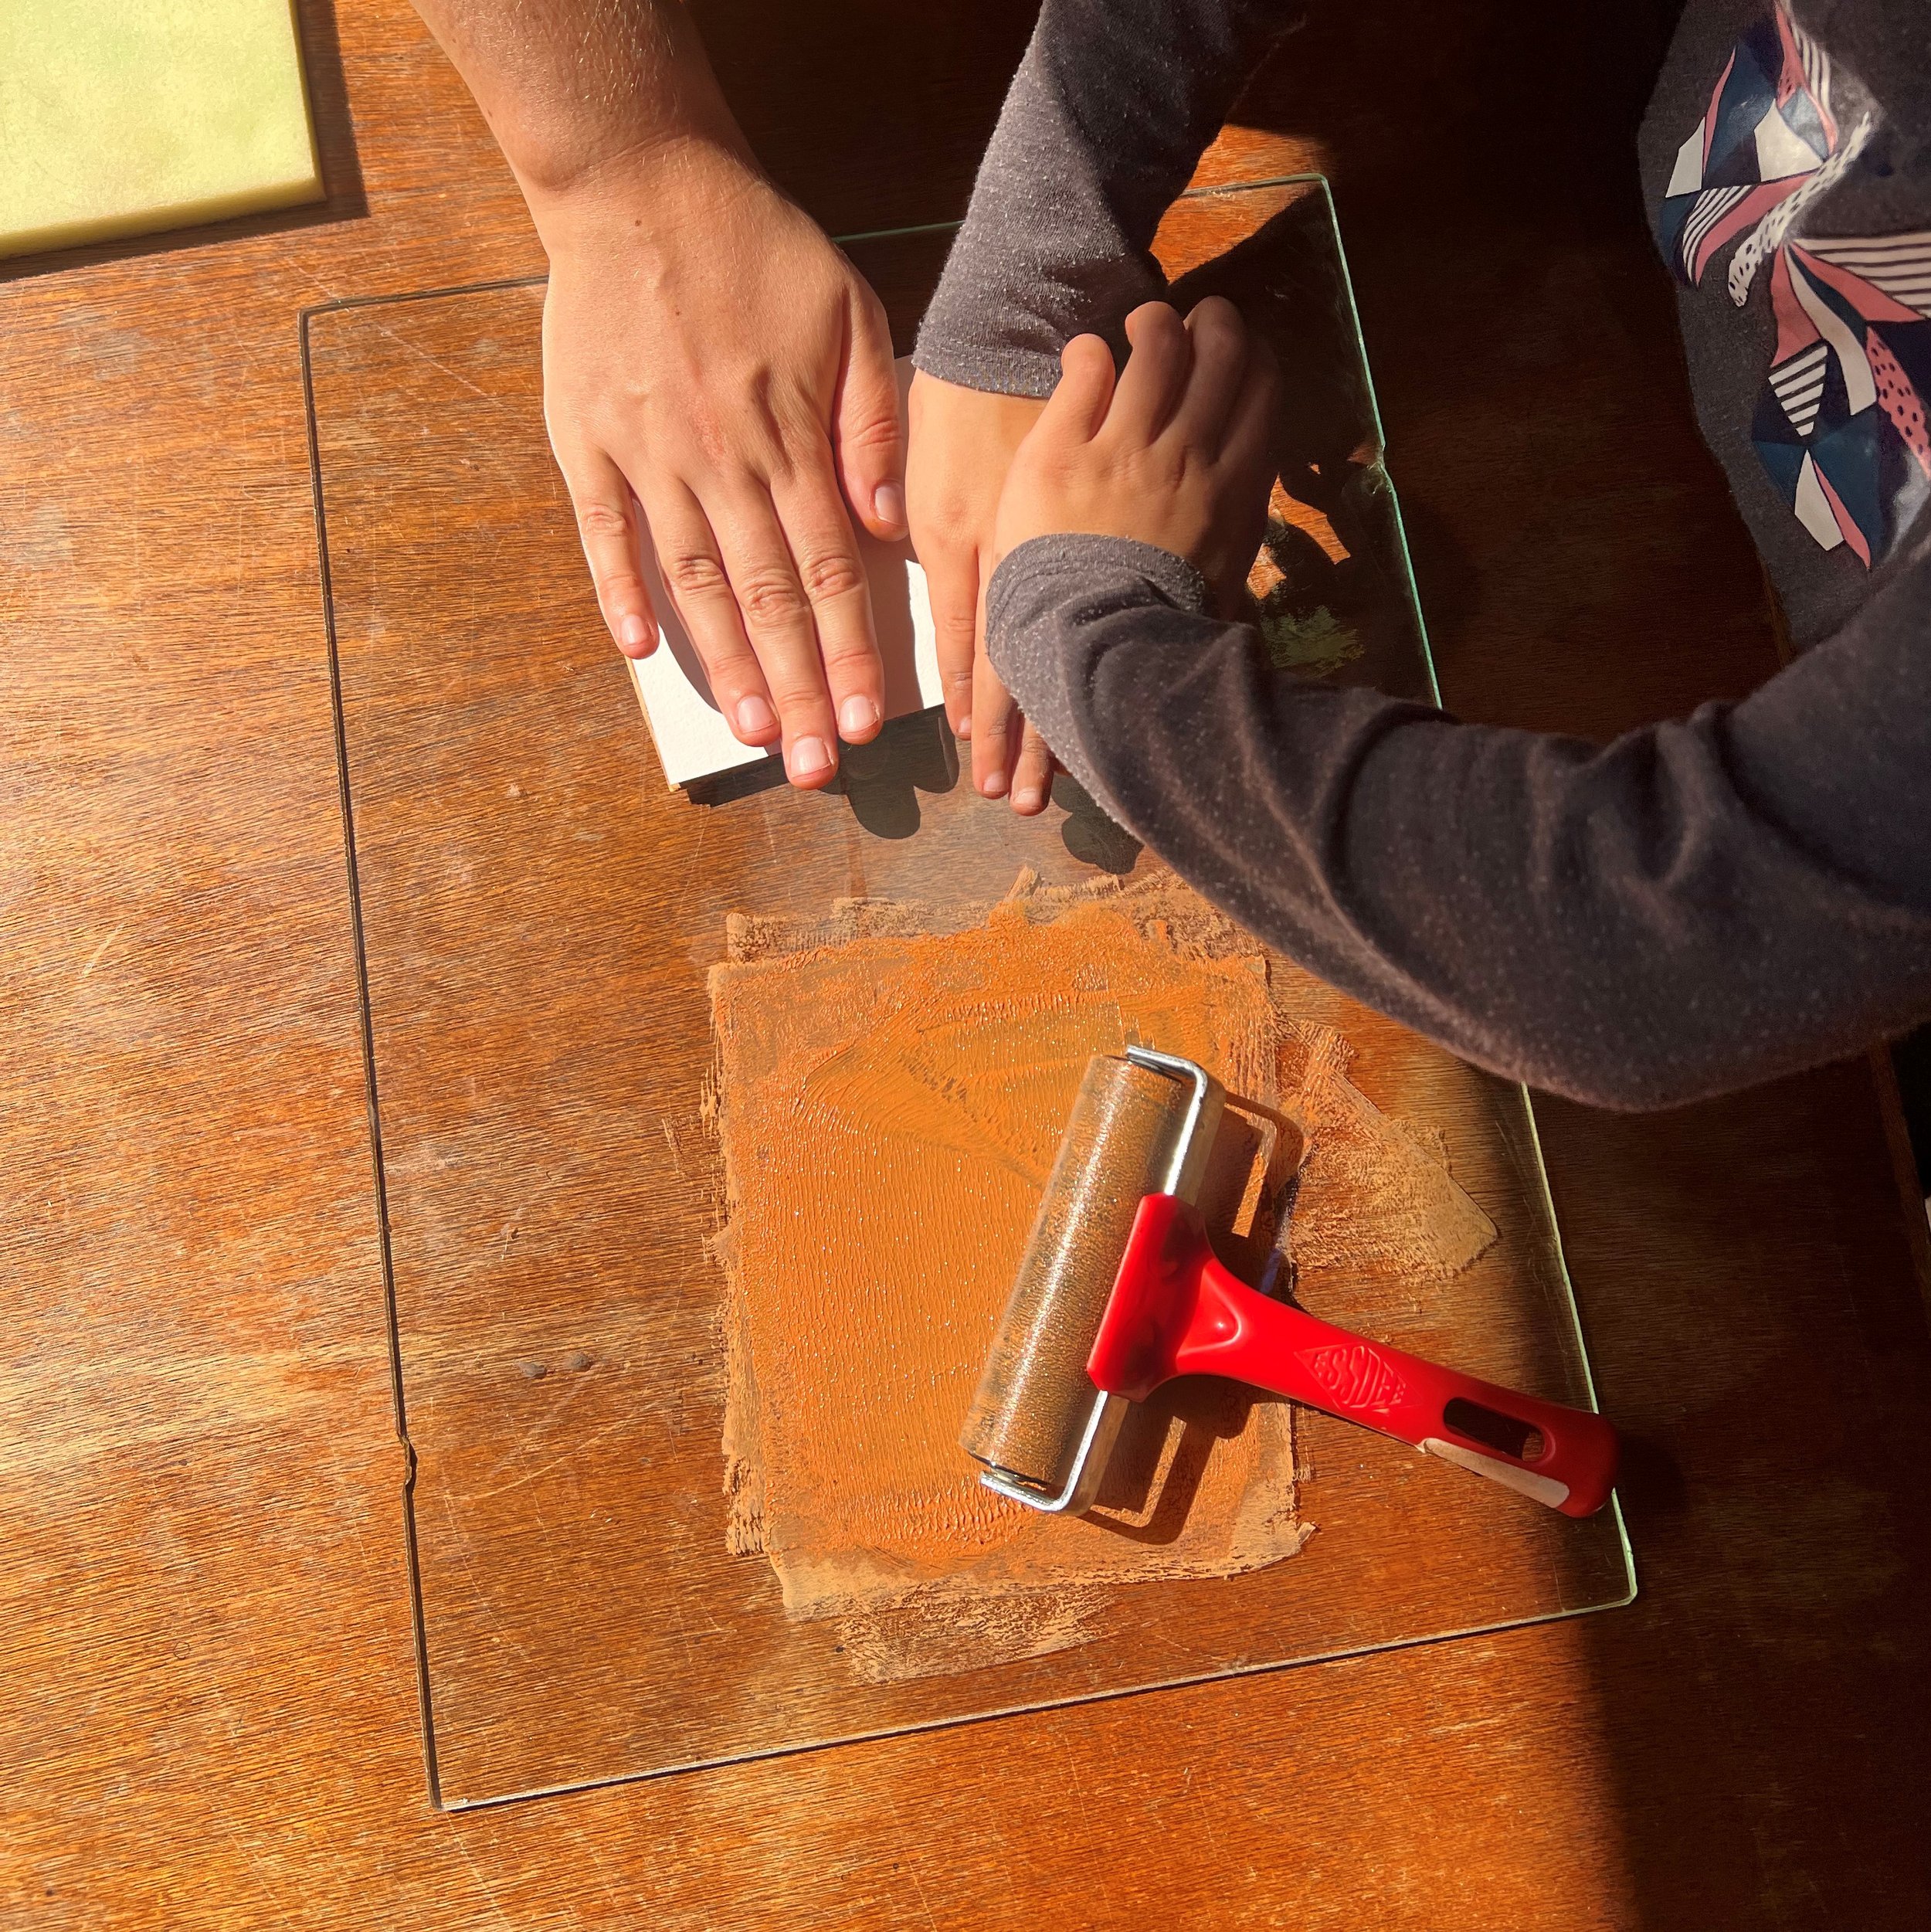
Place the inky side of the print block on your printing paper and press down firmly all over to help the ink transfer. A rolling pin can be useful for applying even pressure, but hands work well too.

Gently grasp a corner of the paper with clean fingers and peel it away from the print block.
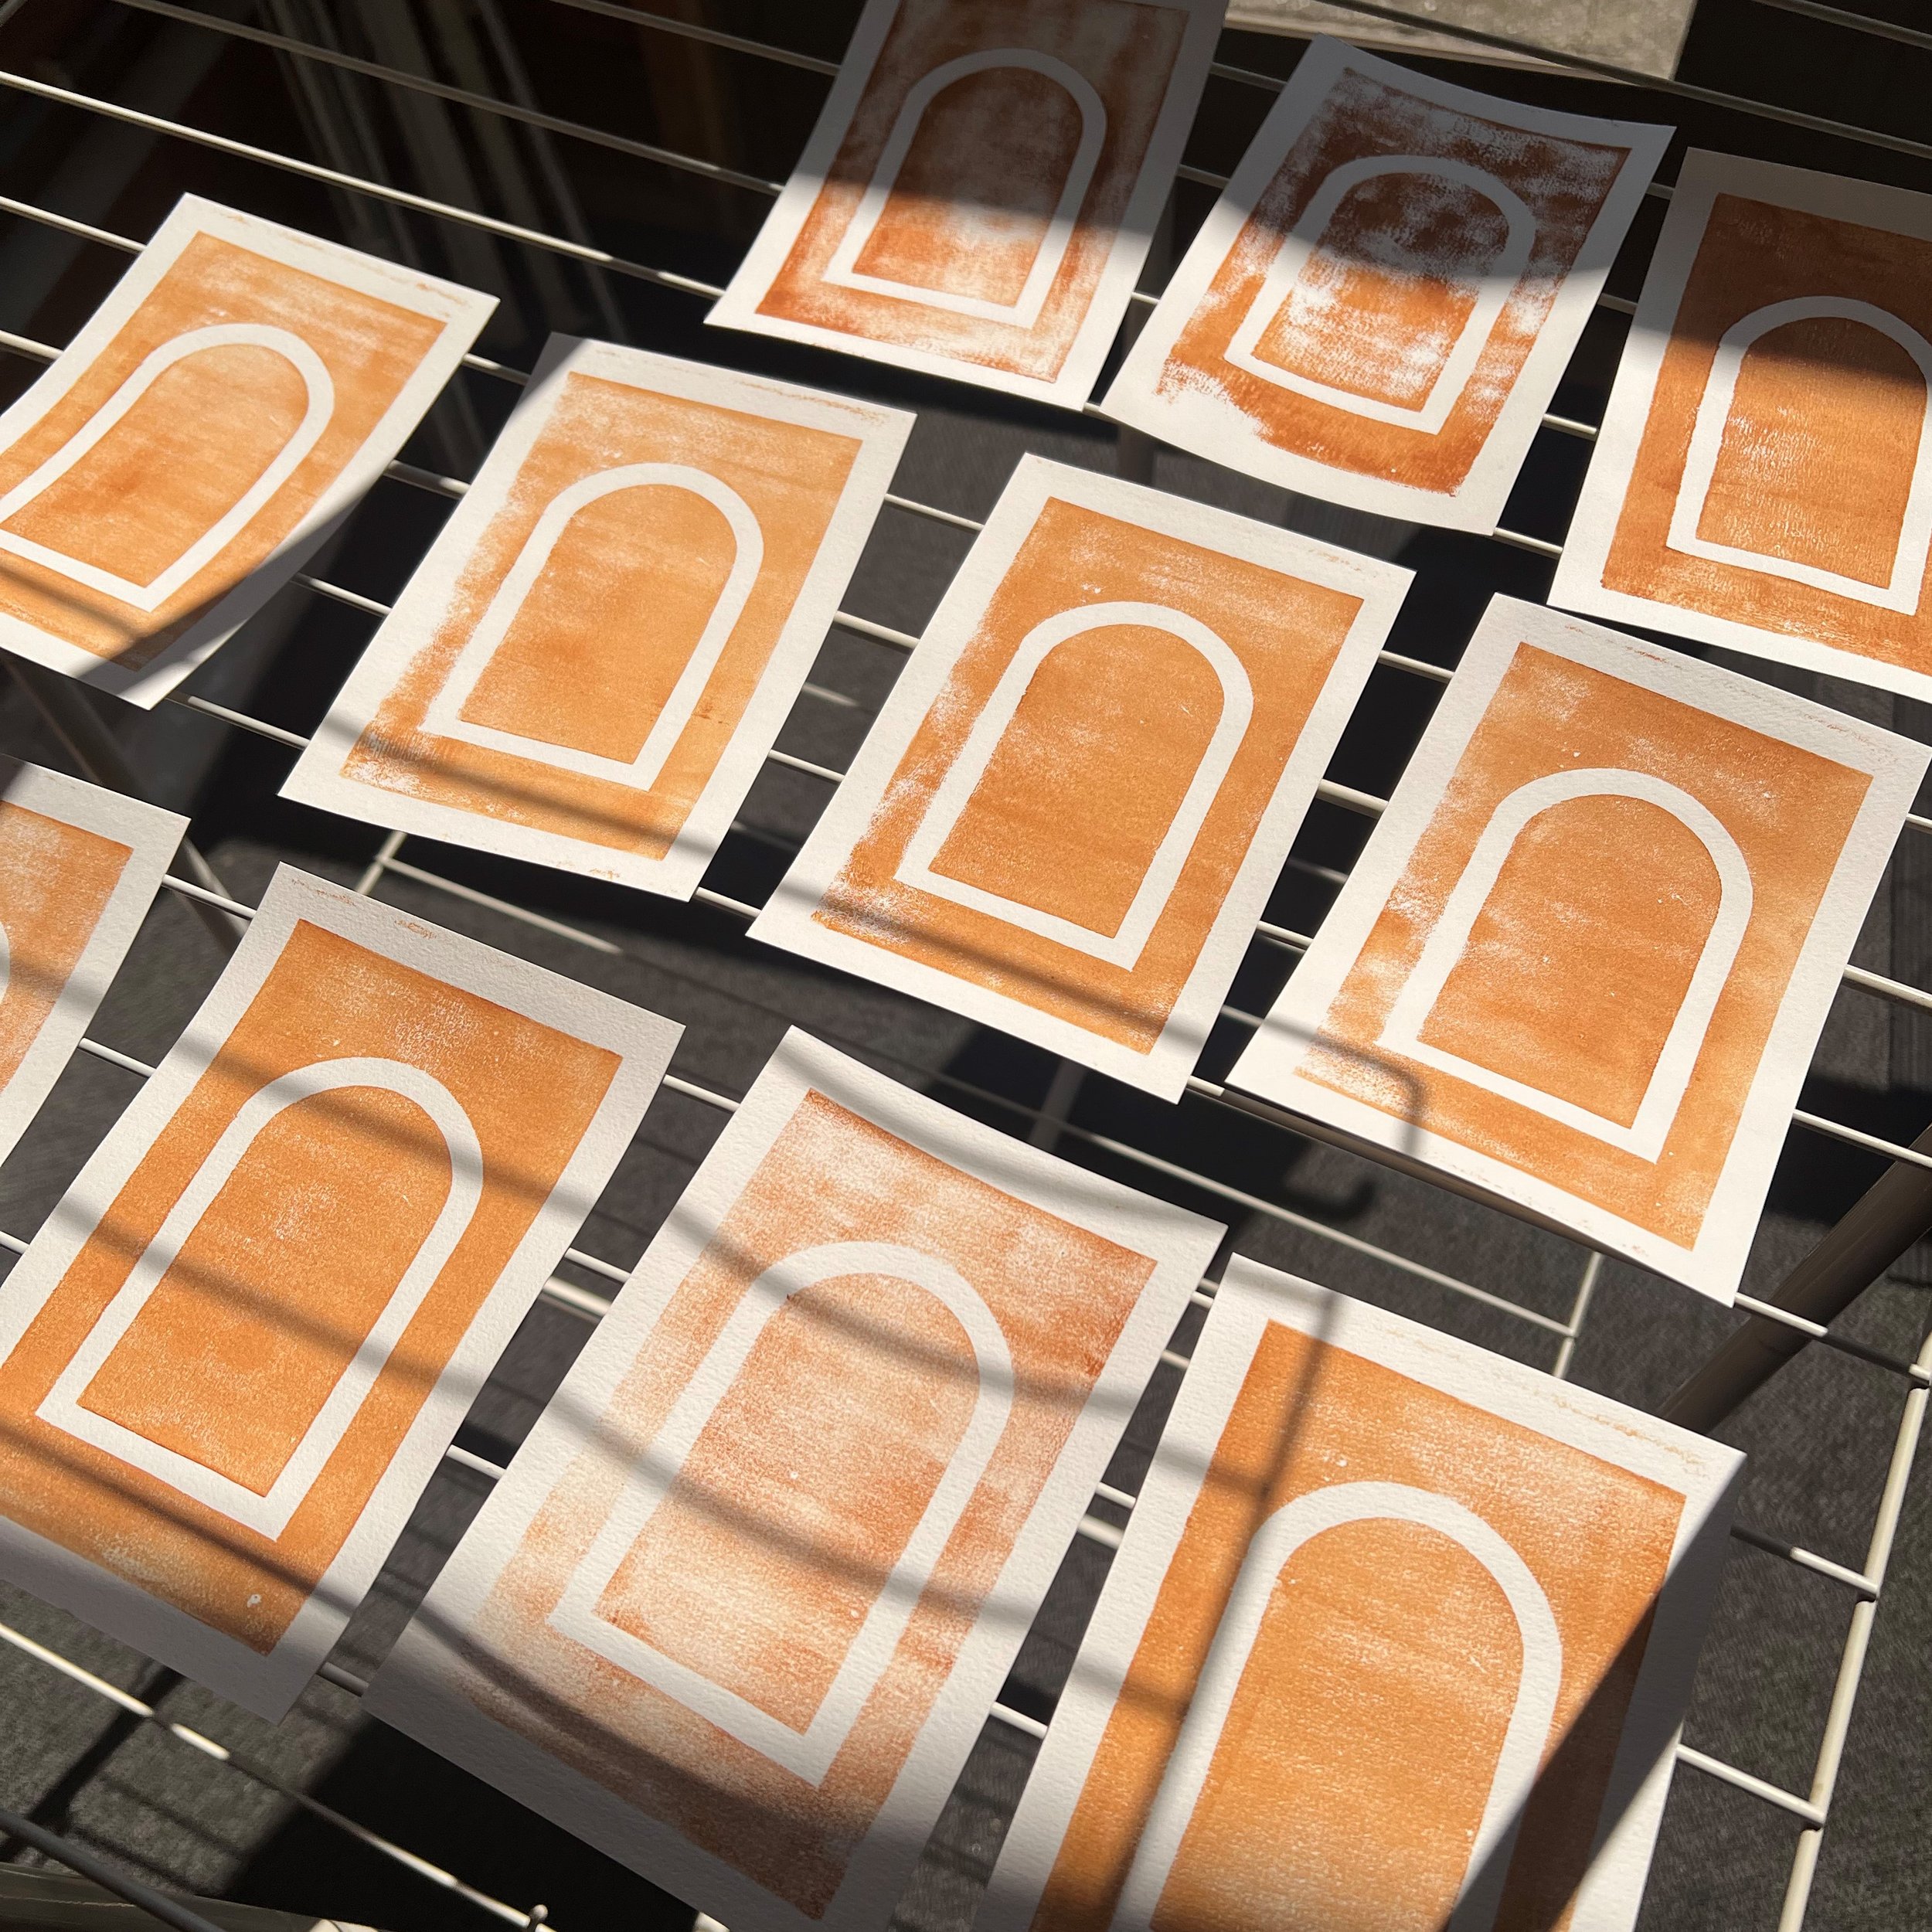
Put your print aside to dry, and repeat.
TIP: Unused ink will dry out. It can be re-wetted up to a point, but it’s best to only make as much as you need, and use it straight away
Troubleshooting.
The recipe has worked well for me with clay-based pigments and print blocks made from EVA foam, cardboard, and PVA glue. It may need tweaking depending on your environment and what kind of printing blocks you use.
Uneven coverage:
If the ink isn’t “squelchy” enough/is patchy on the brayer and the glass plate, try adding more rice paste and mix with the brayer.
Bad transfer/drying before you can print?
In the heat of summer I needed to dampen my print blocks with a sponge between prints, and clean it almost completely every few prints.
You can also add drops of water to the ink mix before using the brayer - but be aware this may affect the smooth look of your print due to ink pooling on the print block.
If you are using textured paper, try smooth paper or card instead, or dampen it slightly.