By Ruby Solly
September 2022
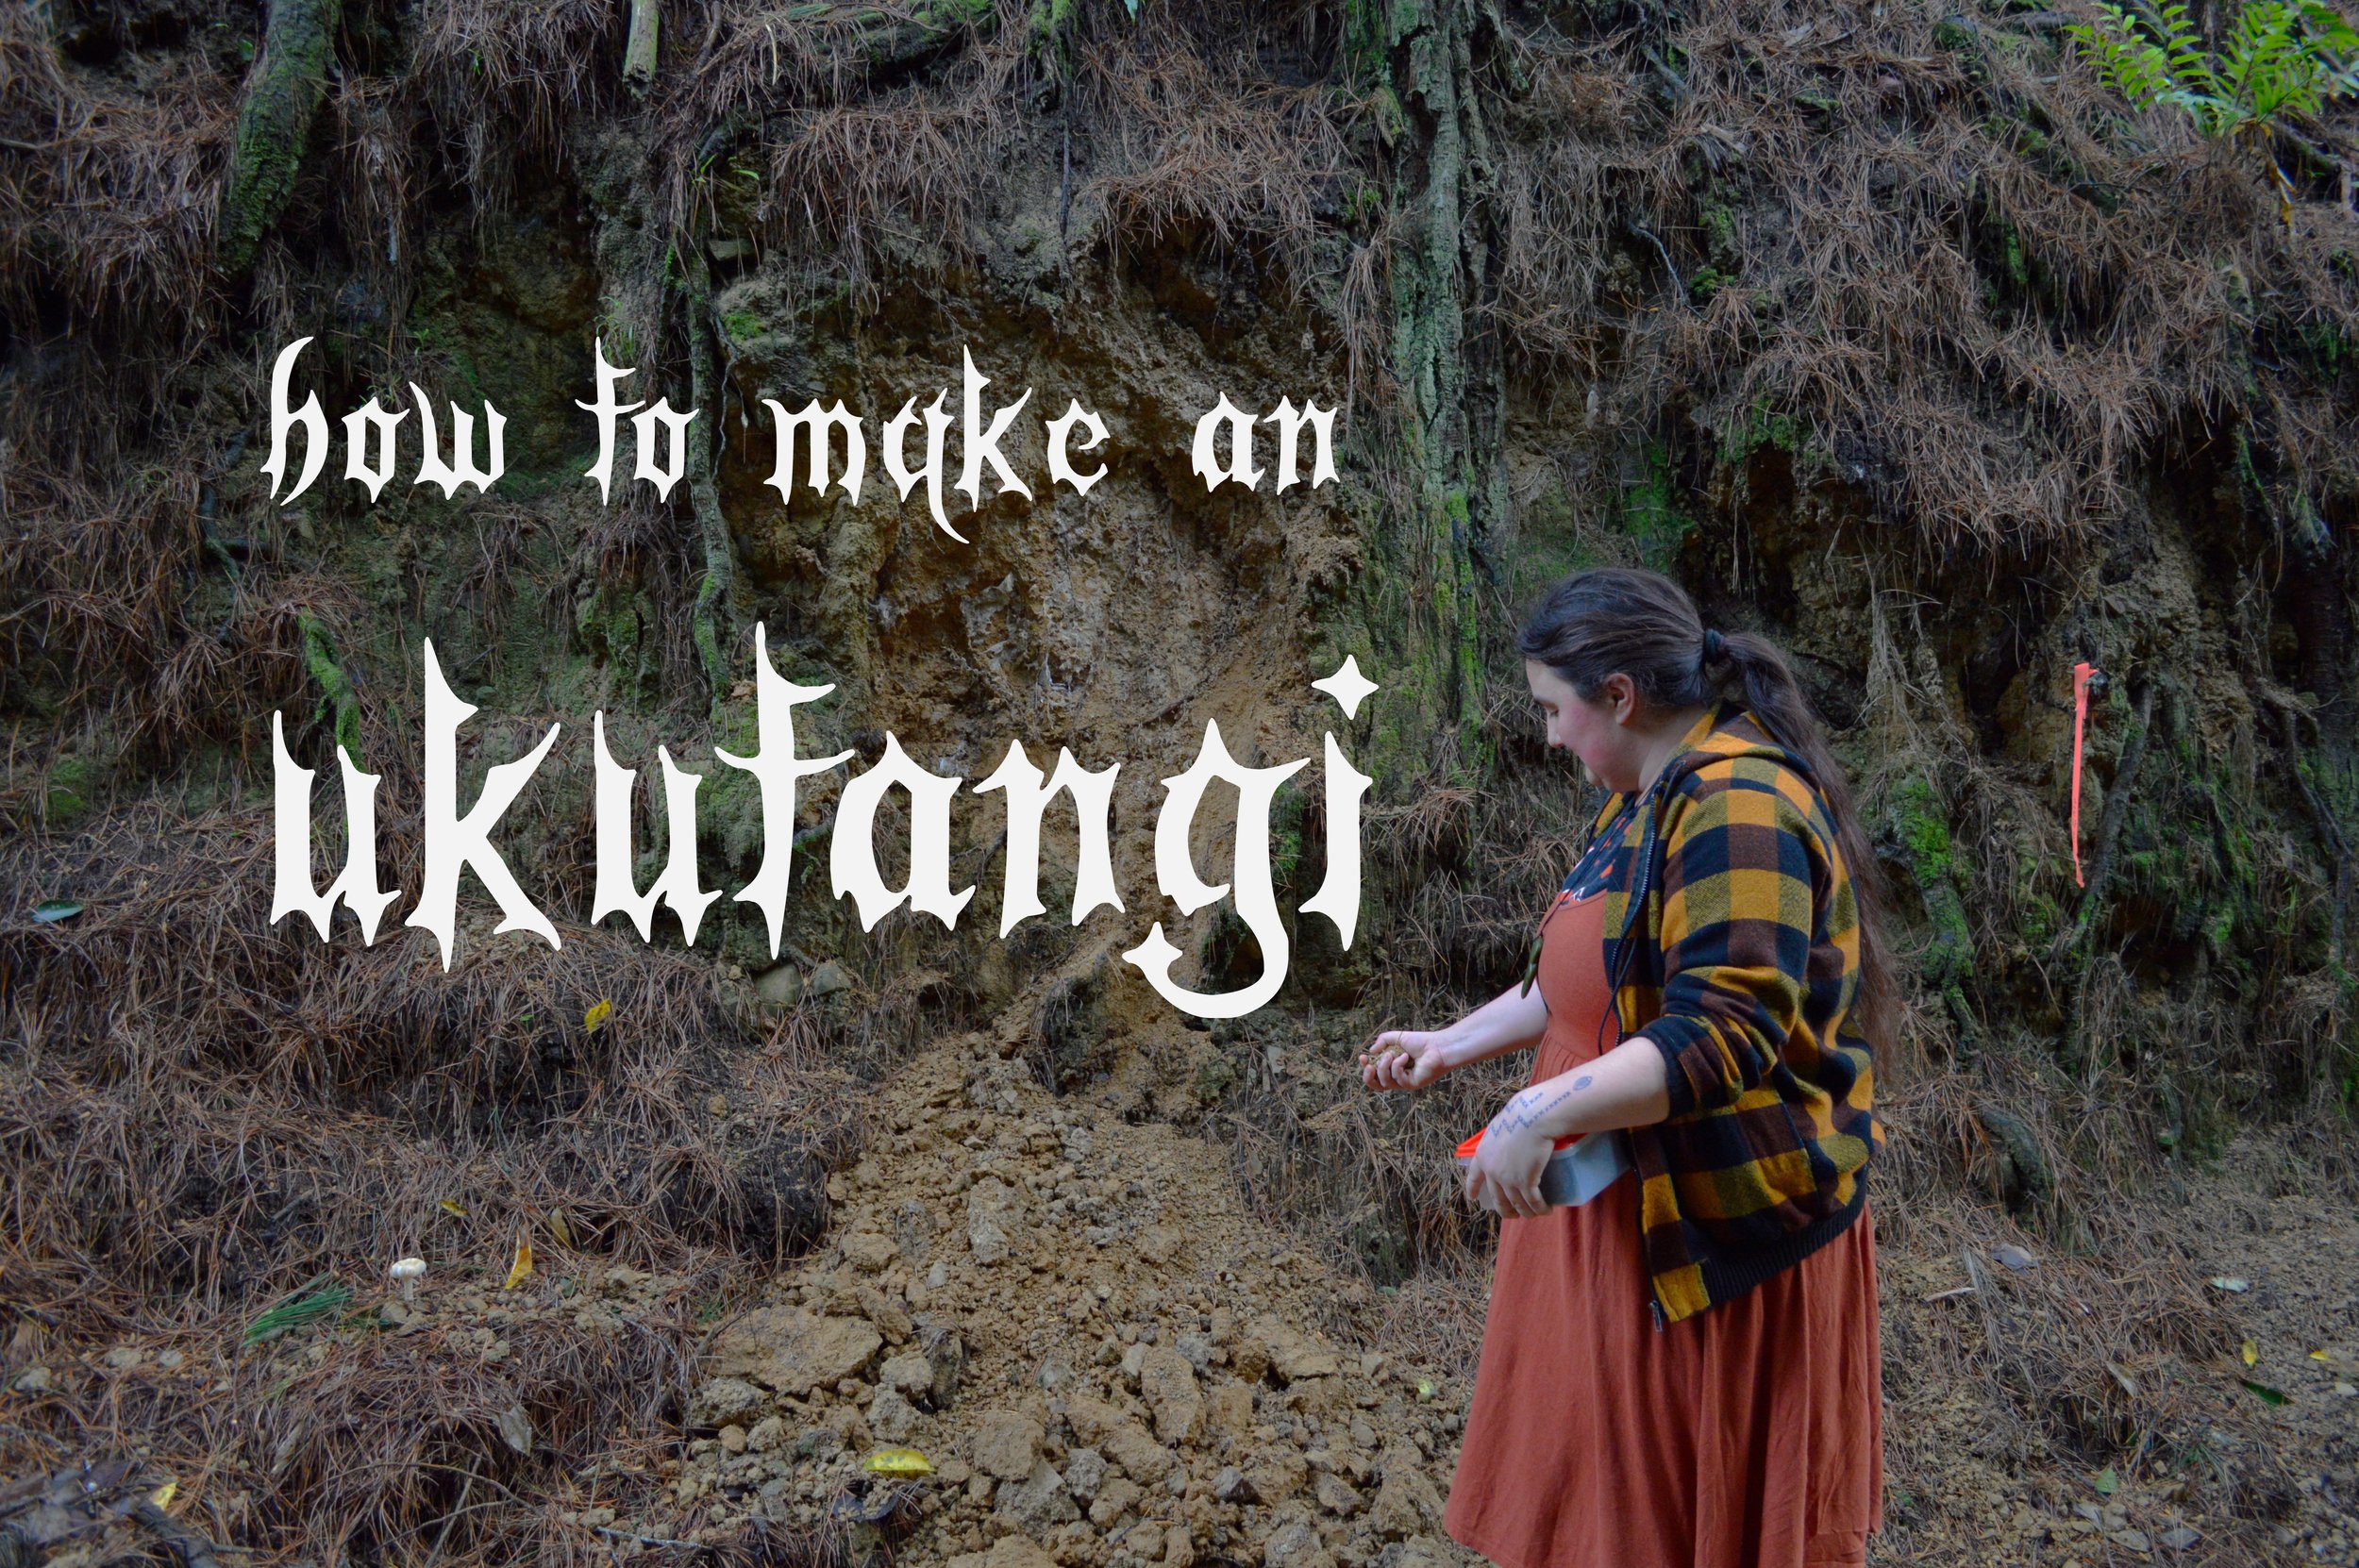
Ruby Solly (Kāi Tahu, Waitaha, Kāti Māmoe) is one of Te Whanganui-a-Tara’s resident puoro witches,
with the best aunty vibes. In this tuhinga, she shares some kōrero about ukutangi, and shows us how to make them.
Ukutangi, pūtangitangi, ipūtangi, būdagidagi, are clay taonga pūoro that are typically a sphere or sphere like shape with one hole for the waha or mouth piece, and possibly some smaller holes or wenewene for the fingers to change the pitch. I was taught that they were made and played primarily by women during times of mourning, and were used a lot in post-war Aotearoa around kaupapa of loss such as tangihanga and memorial services for those lost during this time. Pūtangitangi are also used to bring on tears, and to help the user bring their emotions to the surface when they have been holding them in. This comes from the tangi of the instrument that can be played to sound like wailing and also the breathing styles that can be used to imitate the feeling of sobbing.
In our context today, we can use pūtangitangi for grief, for tangihanga, to release emotions, and to mihi to whenua. One of the beautiful things about this instrument is that often it can be made and played very quickly within a space, allowing you to use your oro along with the oro of the whenua to mihi to the place and peoples.
I was gifted some of this matauranga from Awa Pūoro ki te ao, and people like Elise Googe, Sebastian Lowe and Jessica Kahukura. It’s important to acknowledge people like Keil Kas who have done a significant amount of research on uku and uku pūoro and are important makers within the scene. Other clay pūoro makers include Arumaki Pasene Grennell, and Hera Johns.
I have always thought of Hine Ahuone, and the act of moulding clay as Tane Māhuta did when he helped to bring her shape forth from the earth. Another atua I have recently started looking into for this kaupapa is Hine-ukurangi; often referred to in old texts as ‘the clay maiden’. In some versions of the whakapapa, she and Rakahore, an atua of rock, come together to create Hine-tuakirikiri who we see as gravel, other siblings include Hine-tuahonga, and Hine-tauira, as well as many offspring. These elements help us to understand the ecosystem of the soil, especially the clay soil that we often find around streams, rivers, and the paths where they used to flow.


FINDING CLAY:
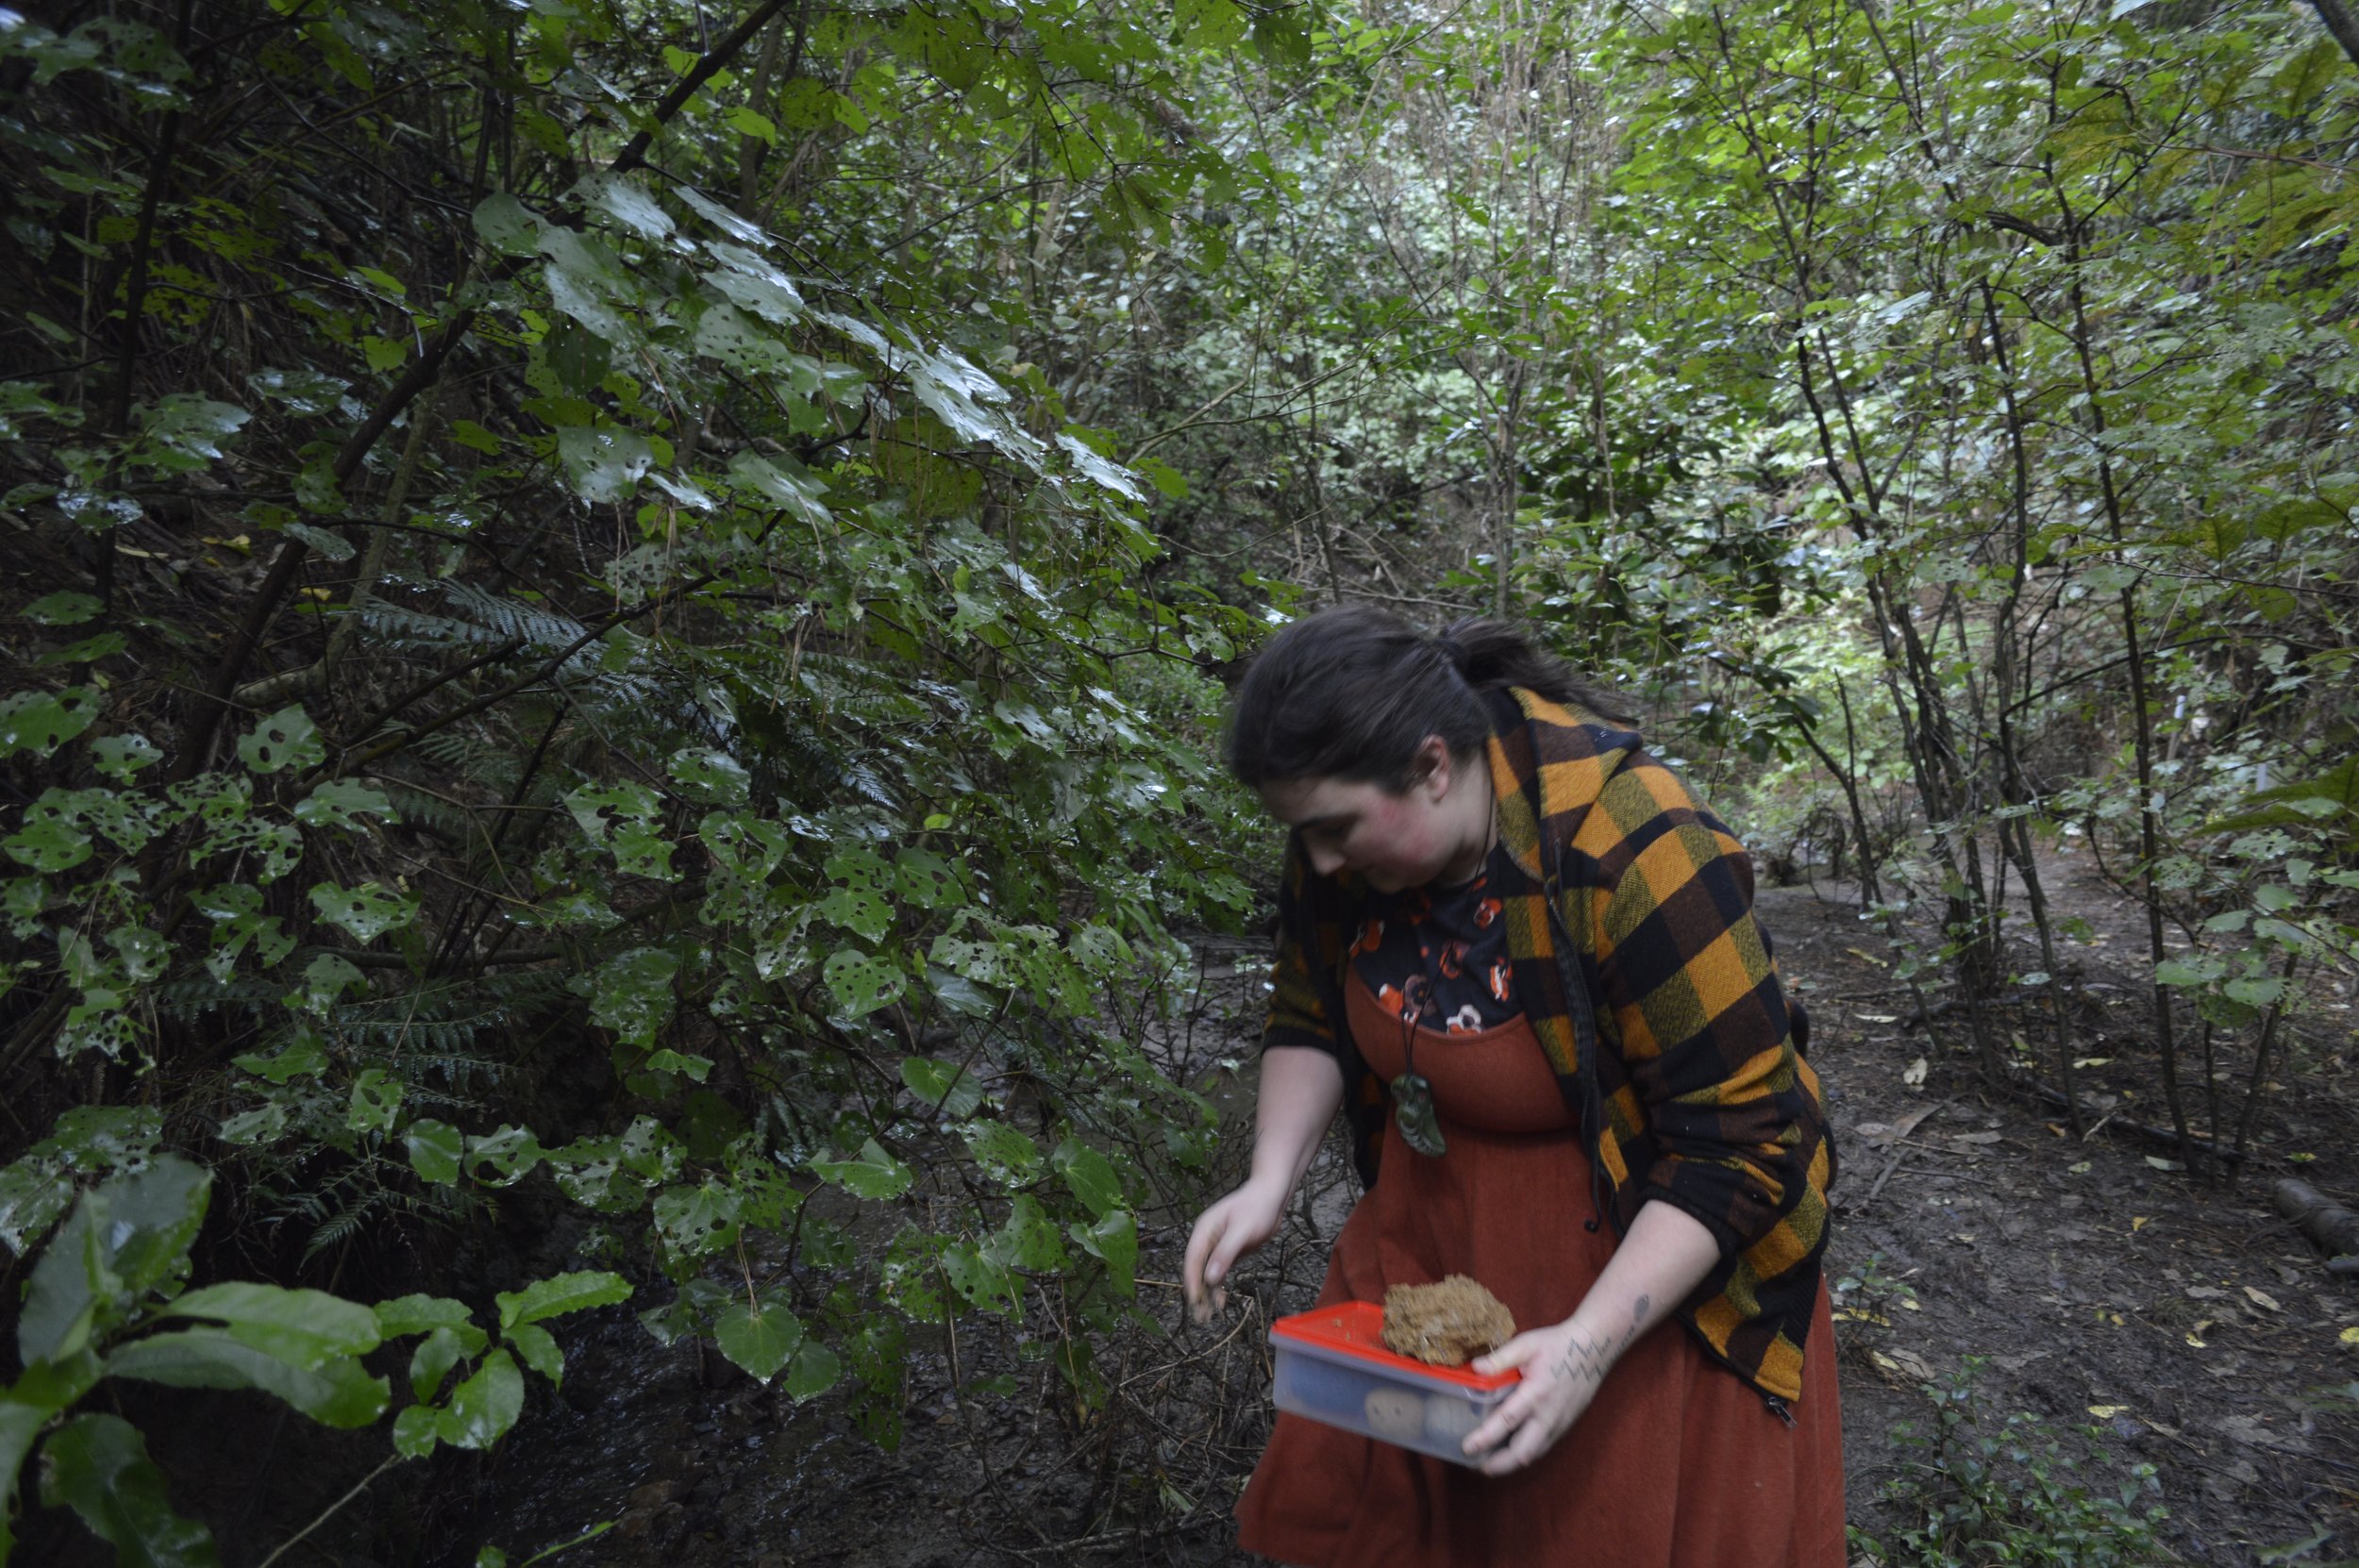
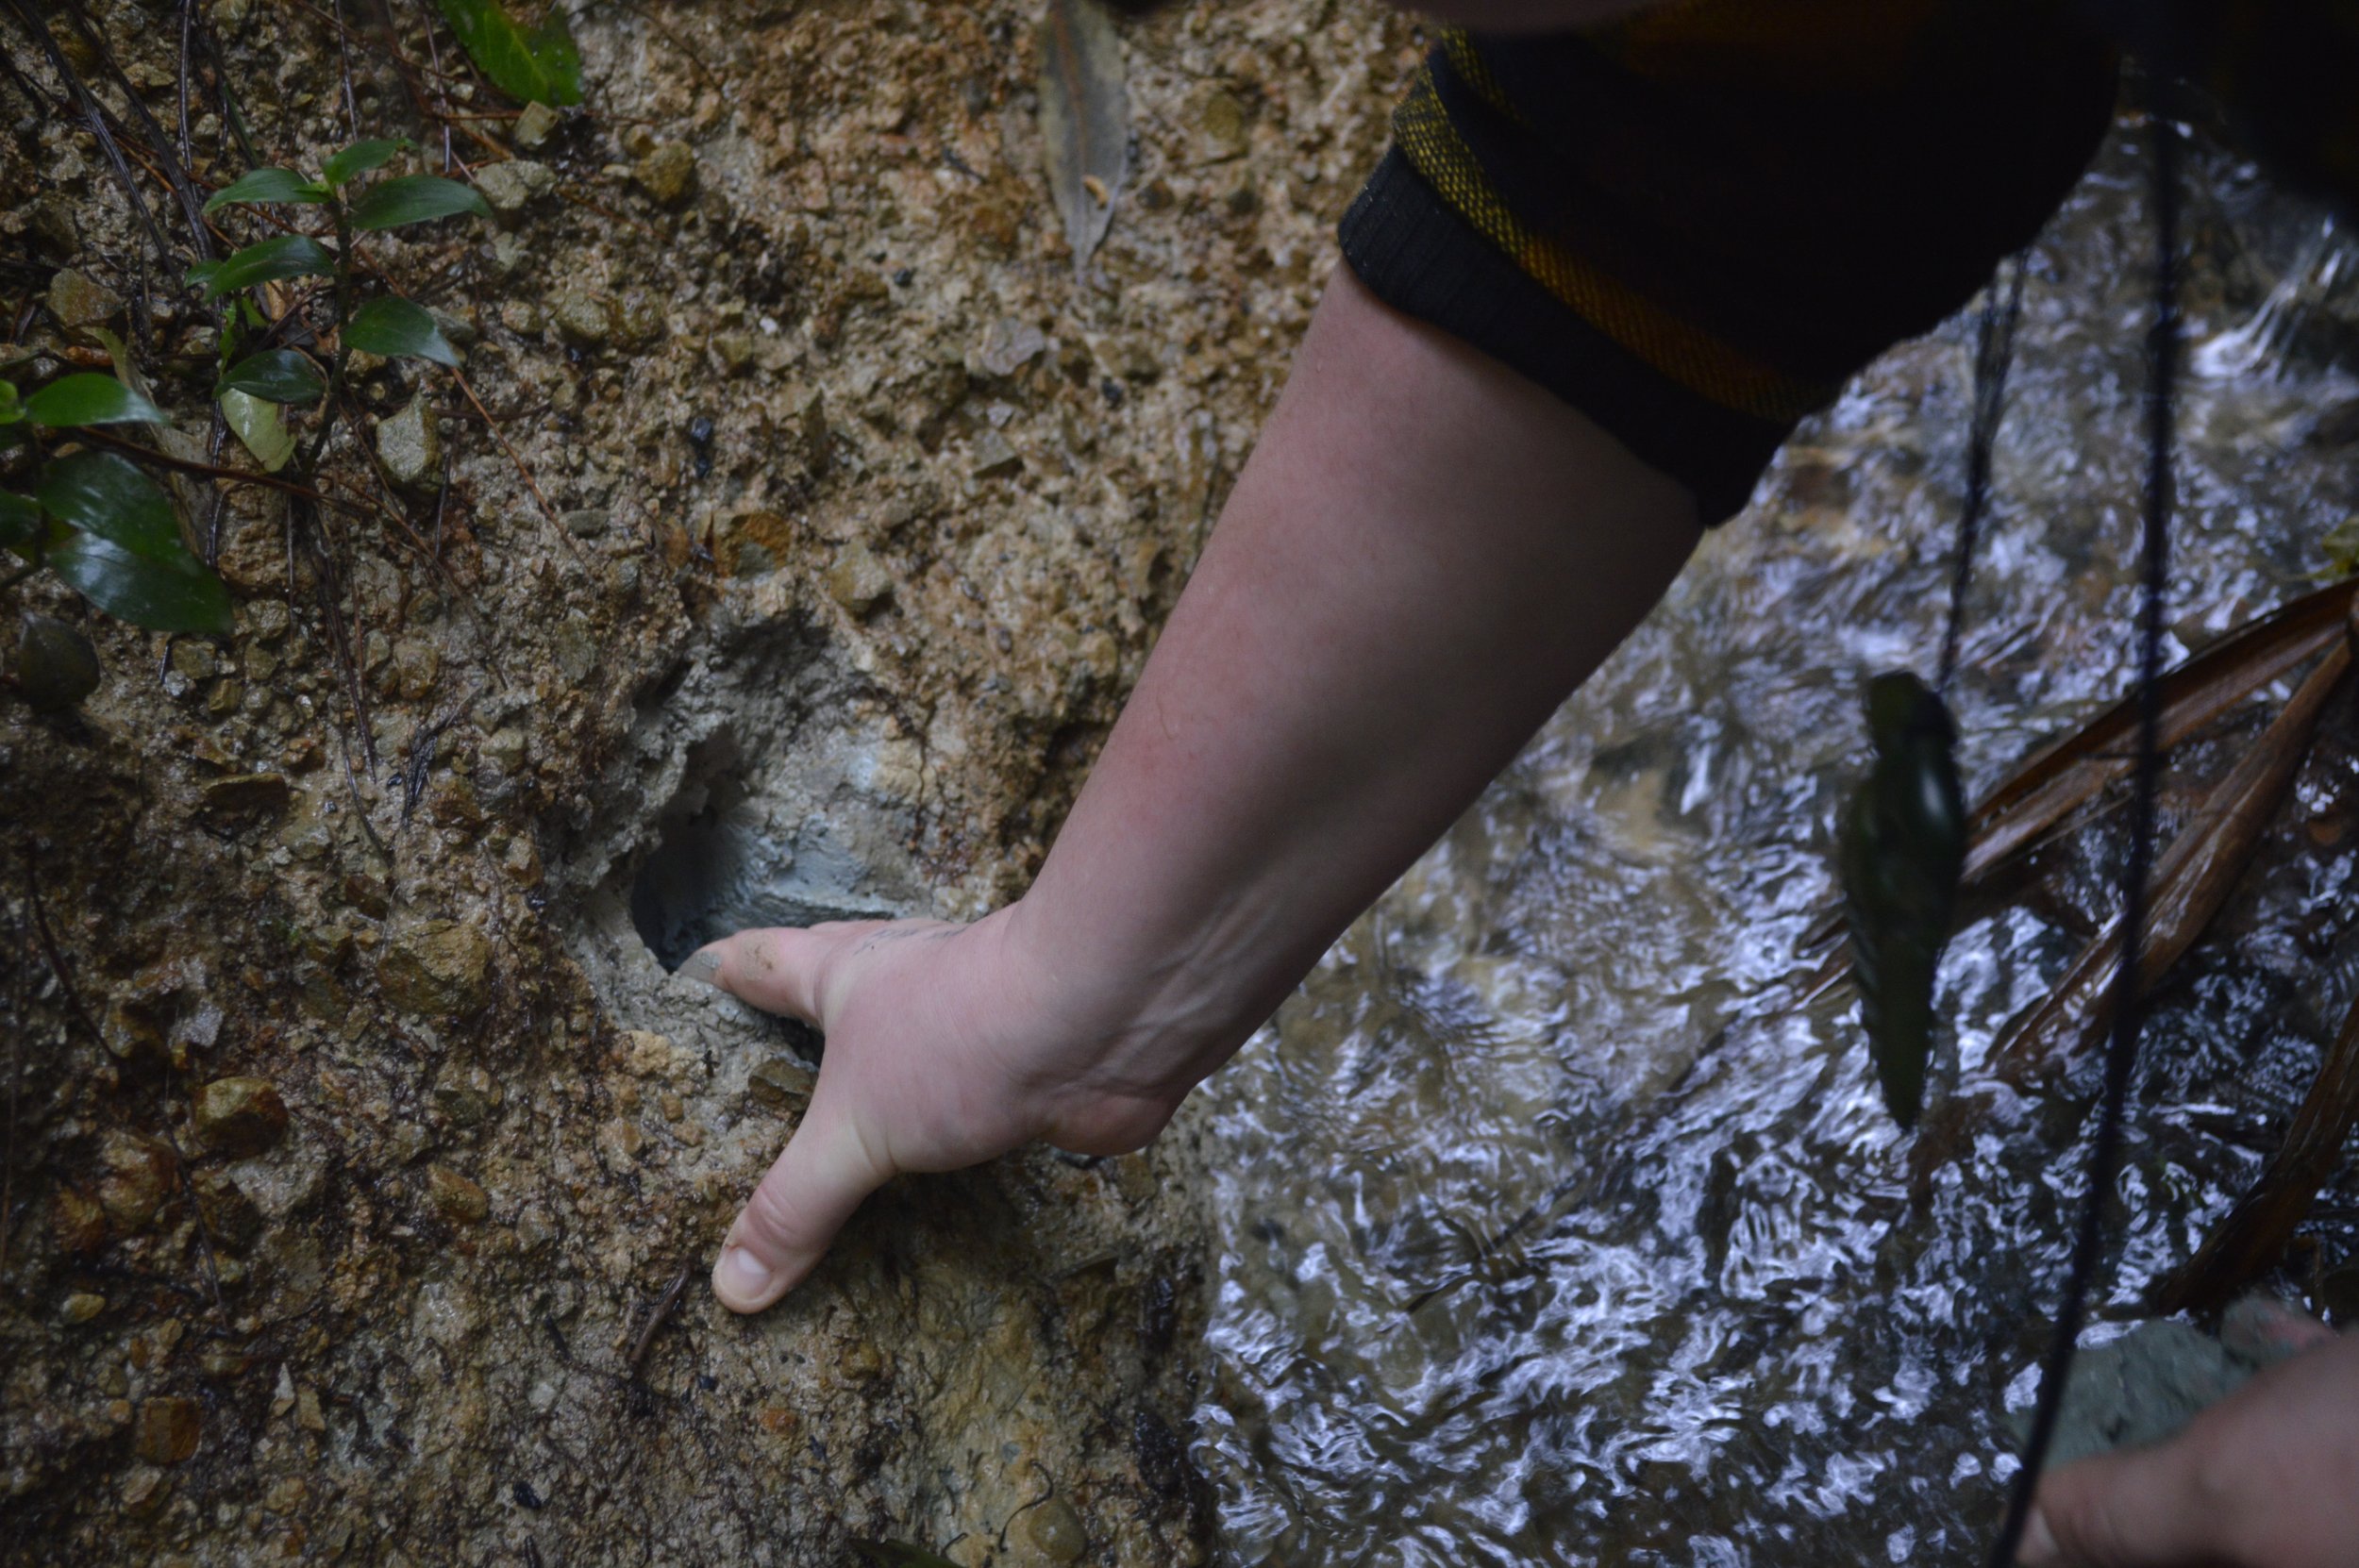
When searching for clay, streams and rivers are your best bet. In Põneke we have lots of small clay cliffs around, especially around our roadsides. You can see the clay soil within the slips that have happened recently in the rain.
The best way to find clay is to head to the stream or the river, and search it out. Clay soil can be many colours, but often is a goldey colour or a grey. If you can find soil without lots of Hine-ukurangi’s children (gravel) within it, that’s a great source to use. Or, you can remove the gravel, but this will take longer and most likely won't lead to a taonga that's as smooth and usable as ones made from the more refined clay deposits. Dry clay, away from the stream, will be very fine and crumbly before wet. Wet river clay could feel hard or soft, but will be very pliable with a little water worked into it. If worse comes to worse, try it out! If it doesn’t work this time, you can have another try with a different source. Here are some photo examples of the clay in its natural state in the stream we went to.
It’s important to locate yourself and how you connect to the awa you are harvesting from. When making the uku taonga in this story, we went to the Te Puni stream. This is a stream near my home, with Te Ati Awa as mana whenua. Te Puni is the name of a Te Ati Awa chief and this stream flows into the Waimapihi stream which is named after one of my Kāti Māmoe tūpuna, Māpihi. Even though my iwi are no longer mana whenua here, I’m able to connect through these histories, and it allows me to see myself as a kaitiaki of this place for my ancestors, and for the ancestors of all who whakapapa to this place. When walking into the area, I will usually play kōauau or another taonga pūoro while thinking of this connection, as a mihi to this place and to connect and give back before I use the resources found here.
MOULDING YOUR TAONGA:
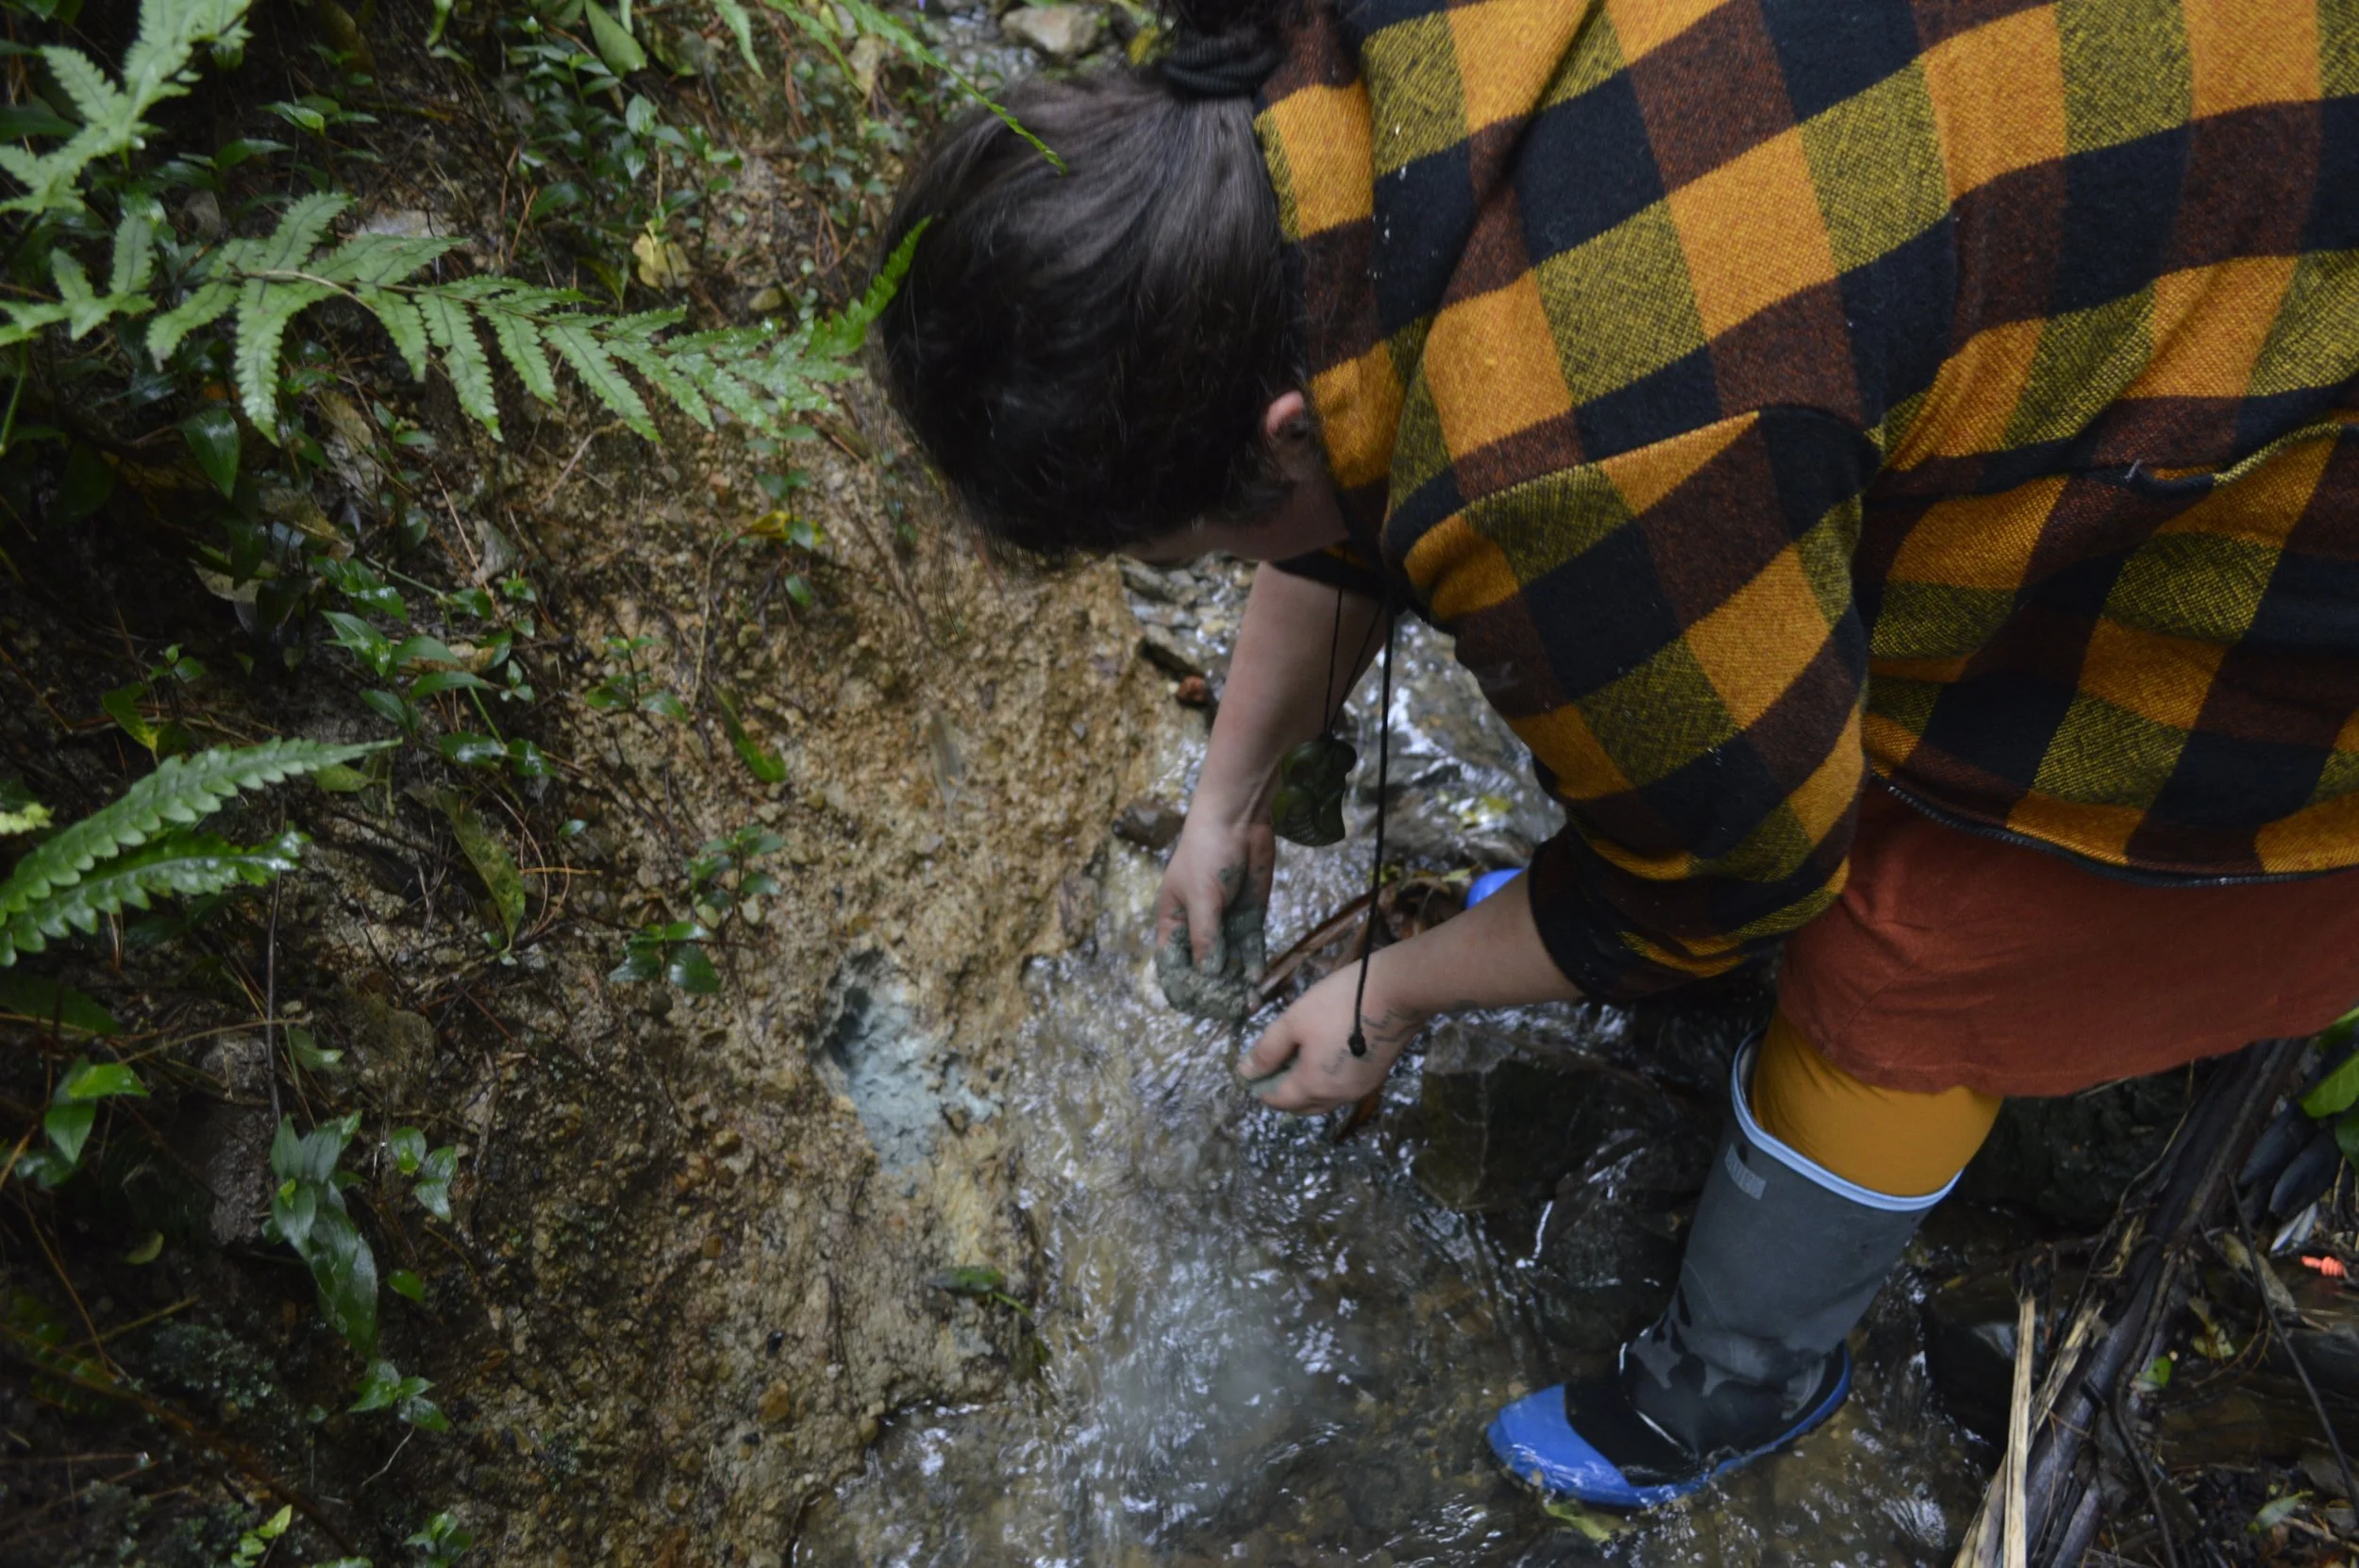
Once you have orientated yourself to the place and its histories, and found your clay source, it’s time to harvest and work the clay. For a pūtangitangi, you are going to need two roughly golf sized balls worth of clay. This means that you want to harvest about twice as much clay as you need as you will be working and refining it. You can put back what you don’t use at the end, but make sure to take it in a way that will not cause any soil or banks to slip. Often if there have been slips, you will find clay soil crumbled on the ground beside them, ready for you to use without further risk to the whenua.

Then you are going to make two ‘pinch pots’ by pressing your thumb into the centre and moving the ball around to create a bowl shape. It’s important that the edges of the bowl are even and that the bowl isn’t too wide. Here is a picture to show you what you are aiming for.

Once you have your two pinch pots, it’s now time to join them together to make the body of your pūtangitangi. Carefully place one bowl on top of the other so that there is a hollow space of air in the centre. Then gently ‘pinch’ the edges of the pot to join the two together. I’ve found that just gentlying rubbing up and down the seam can often work better. You want to keep refining it until you can no longer see the join. You will end up with a round ball filled with air that looks like this.

Now you are going to make the waha, the mouthpiece for your pūtangitangi. You will need a stick about the width of your pinkie. I find it works best if you dip the stick in water, before using it to make a hole in the middle of one of the sides. Be careful not to make a hole in the join as it might make your pūtangitangi unstable. The smaller the hole the higher the sound, the bigger the hole, the lower. But if this is your first time, about the width of your pinkie will work well. You can move the stick around to create an even opening and then tidy up any clay around the opening with your fingers. That will look like this.

PLAYING YOUR PŪTANGITANGI:
If you have played pūtangitangi before, at this stage you should be able to check to see if your pūtangitangi sings... but you are going to get a little messy! Gently place your face on the pūtangitangi, side on to the hole, making a ‘lock’ with the right hand corner of your mouth. You are then going to make a low whistle across the hole. Sometimes this will sound straight away! But sometimes you might have to listen a bit more closely to the pūtangitangi; you will hear your note or whistle, and then you will hear one from the pūtangitangi, move your whistle closer to that note and eventually they will ‘take’ and you will hear the rangi of your pūtangitangi. If you’re not quite getting a sound at this stage, that’s ok! It will be a lot easier to practice in a few days when it’s dry. You might find another way that you think about getting the sound too, which might become a way that you choose to teach others when you pass this knowledge on.
If you would like to, you could add wenewene, or finger holes so that you could have a bigger range of rangi on your pūtangitangi. To do this you need a stable twig which you are going to use to pierce the holes. You want to make sure they are not too close to waha, or they may not sound and could make your pūtangitangi difficult to play. I usually only do one or two wenewene as too many can stop it from sounding also. But over time as you make more pūtangitangi, having more, or bigger, or different styled wenewene might be something you would like to experiment with.
When making your wenewene, it’s good to see where your fingers sit naturally on the instrument when you will be playing it, and base them from that while making sure they are not too close together or too close to the waha. As before, simply wet the twig and press it through to make a wenewene, going back and forth a few times is good to ensure all the clay has been cleared. It’s good to then check inside the waha that the clay from the wenenwene has been cleared.
Now, tidy up any last details around the waha and the wenewene, and you are finished! Your pūtangitangi will be playable in about 48 hours if left to dry inside, and will be fully dry in about a week. Don’t worry if you go to have a play while it’s drying and can’t get a sound! It will come right soon.
If you’re having trouble following along on the page, we also made a video! Watch Ruby make an ukutangi, and also get some tips for how to play this taonga.
While we were at the awa, we made a kōauau and a karanga weka from uku also! If you wanted to try making a karanga weka, use the same method as the putangitangi, except you want to aim for a pūtangitangi that looks slightly smaller than a ping-pong ball. Then make just one single wenewene to create a basic karanga weka, make sure to make a smaller waha for this one for a higher note. For a kōauau, roll out a cylinder shape of uku about and then push a wet stick through the centre, back and forth. Gently remove it then shape the two ends so you have two smooth openings. You can make wenewene the same way as you did the pūtangitangi. As you get more experienced, you can start to experiment with the size of the waha, or the size and amount of wenewene. Or you might come up with something completely new.
I hope that you and your new pūtangitangi form a strong relationship together between whenua, and pūoro. Being able to play the sounds of our lands is a taonga in itself and gives you another way to communicate and mihi to the whenua that you descend from. Pūoro atu, pūoro mai! Tihei mauri ora!
